Radio Controller
Introduction: The Quest for the Perfect Wireless Controller
In the realm of DIY robotics, the wireless controller stands out as an indispensable tool. The market offers a diverse range of technologies including radio, infrared, Bluetooth, and Wi-Fi, each with its unique set of benefits and limitations. In my foray into robotics, I have experimented with radio, infrared, and Wi-Fi technologies, learning that the best choice heavily depends on the specific requirements of the project. Yet, for scenarios demanding long-range control, radio technology has consistently emerged as the superior option, which is why this article focuses on it.
My journey into robotics has not been without its challenges. In particular, I have faced significant hurdles with infrared and Wi-Fi controls. The former was plagued by issues such as the necessity for direct line-of-sight and susceptibility to sunlight interference, which severely limited its usability outdoors. Meanwhile, Wi-Fi’s reliability was hindered by my area’s poor internet speeds, leading to frustrating communication delays. Radio technology, however, circumvented these problems by removing the line-of-sight requirement and offering more stable communication, even in sunlight.
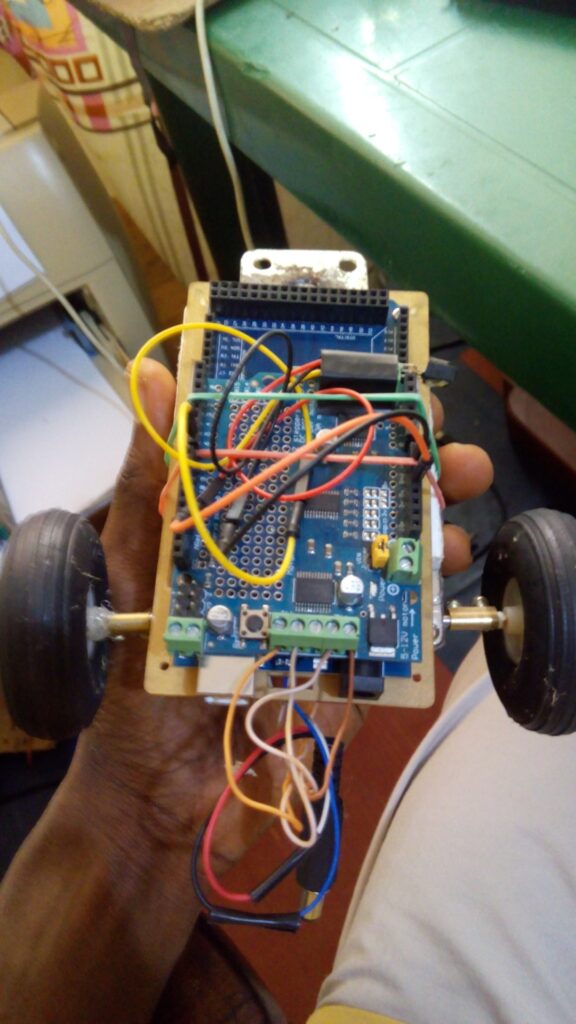
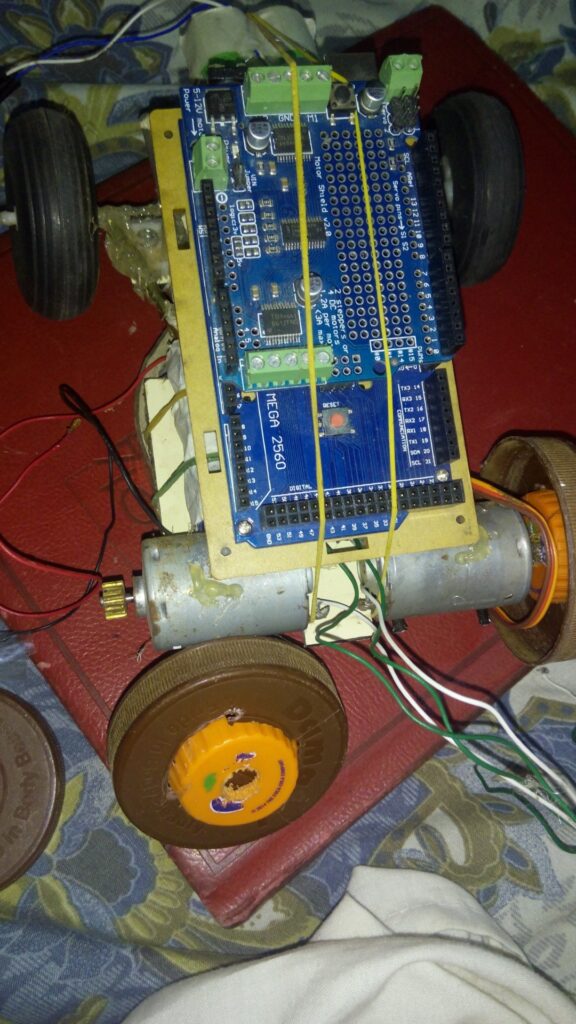
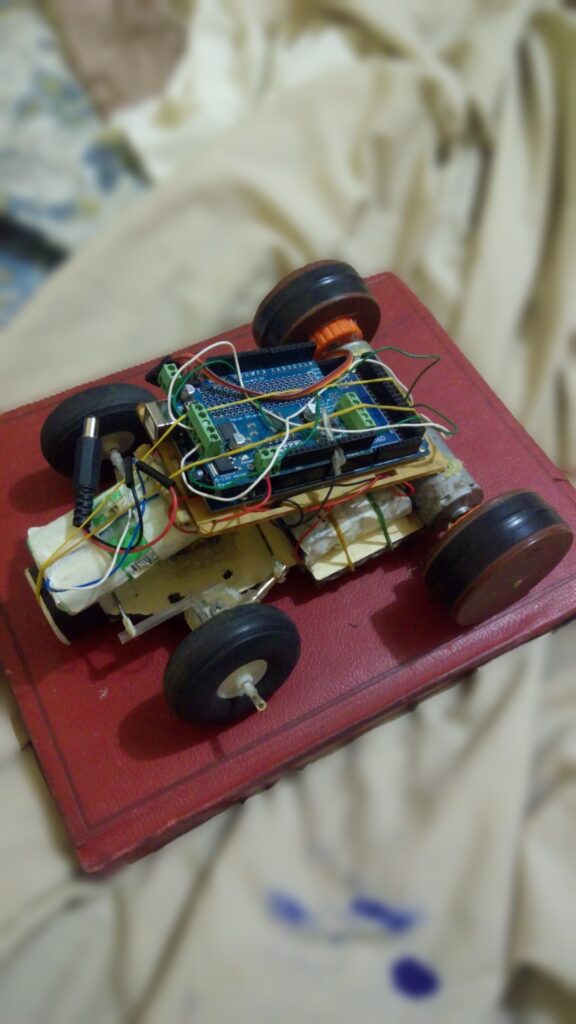
Some of the earlier robots I built were mostly from recycled materials; I got motors from scrapped printers and photocopy machines.
Developing an Affordable Radio Solution
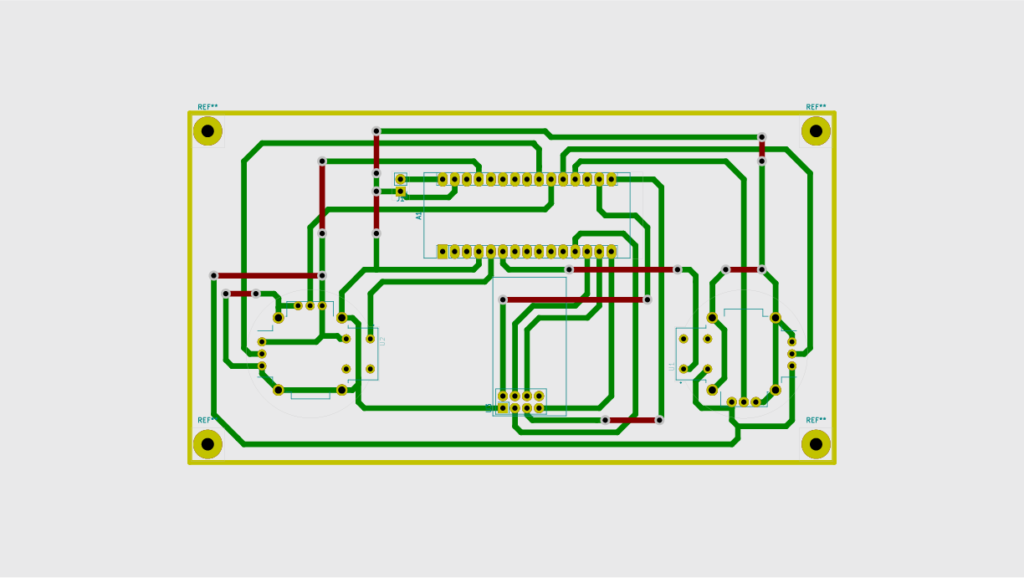
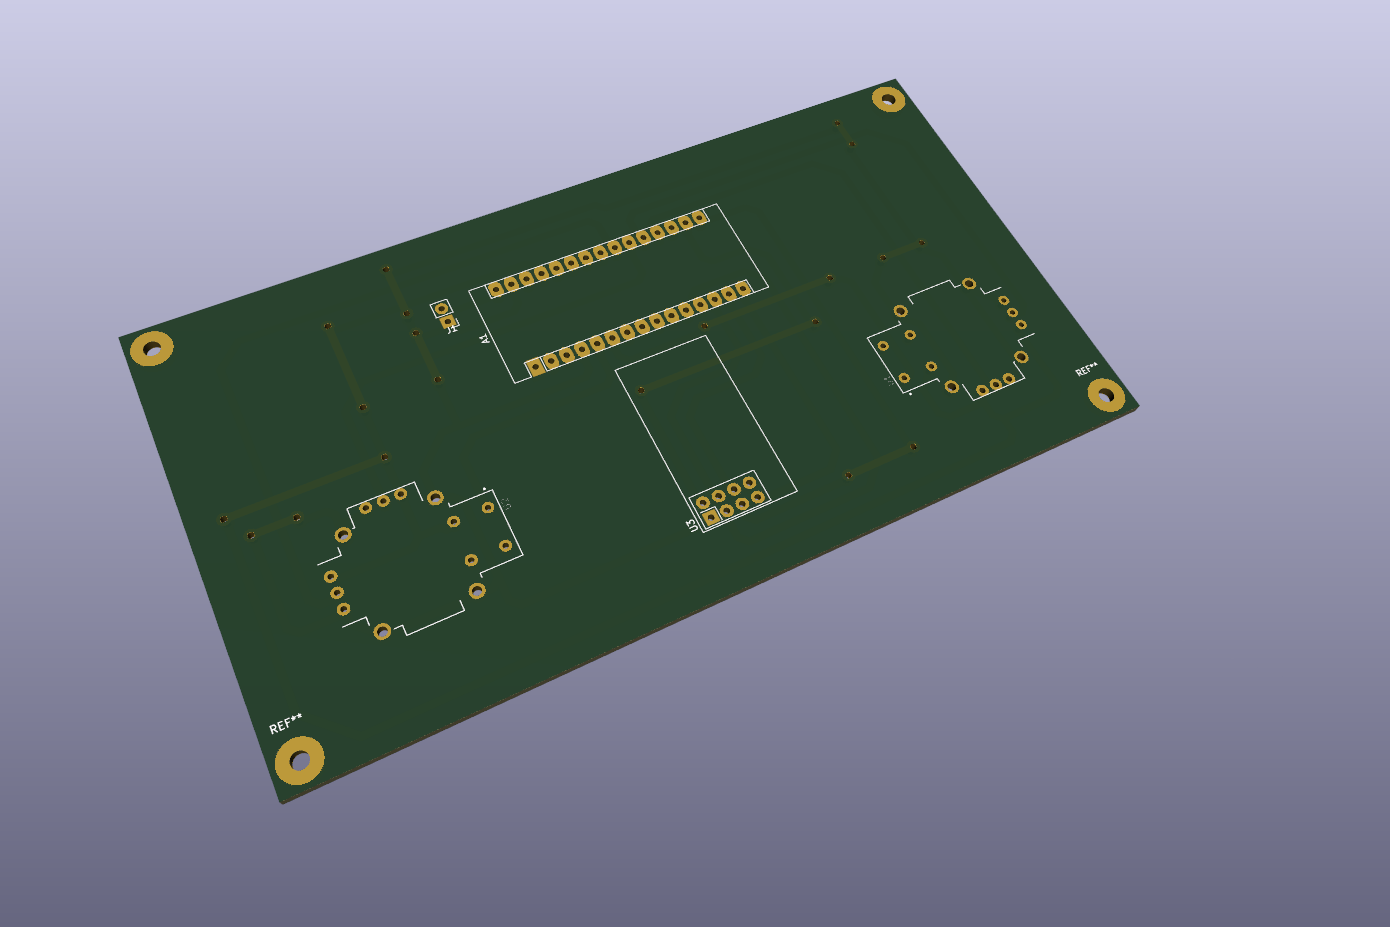
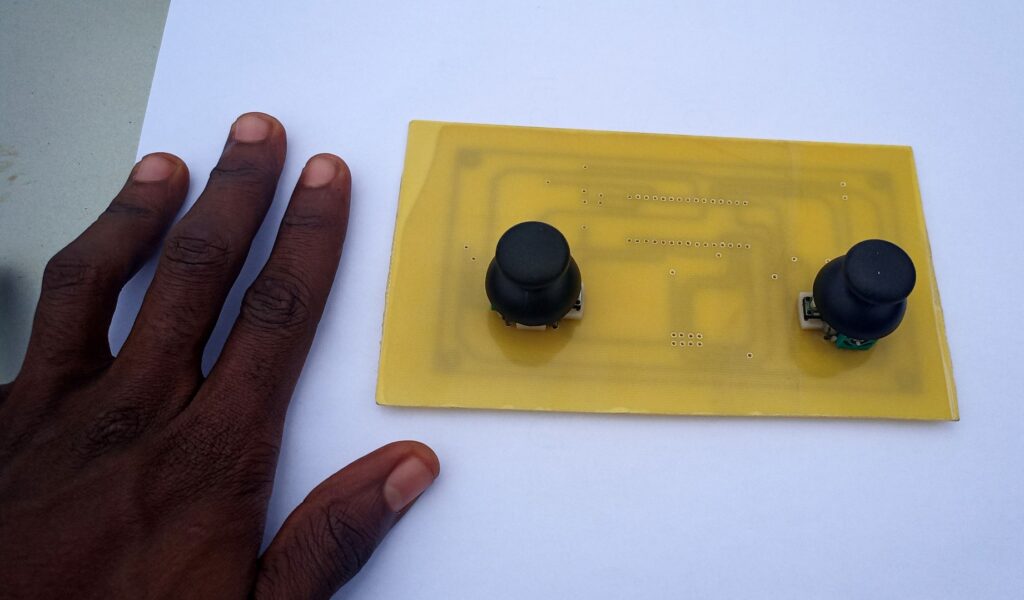
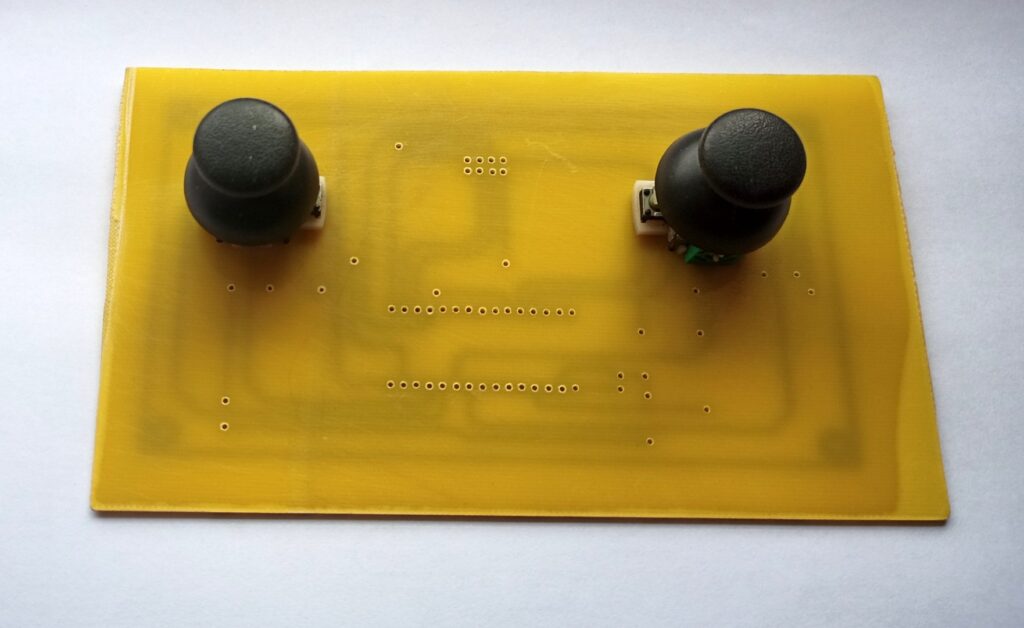
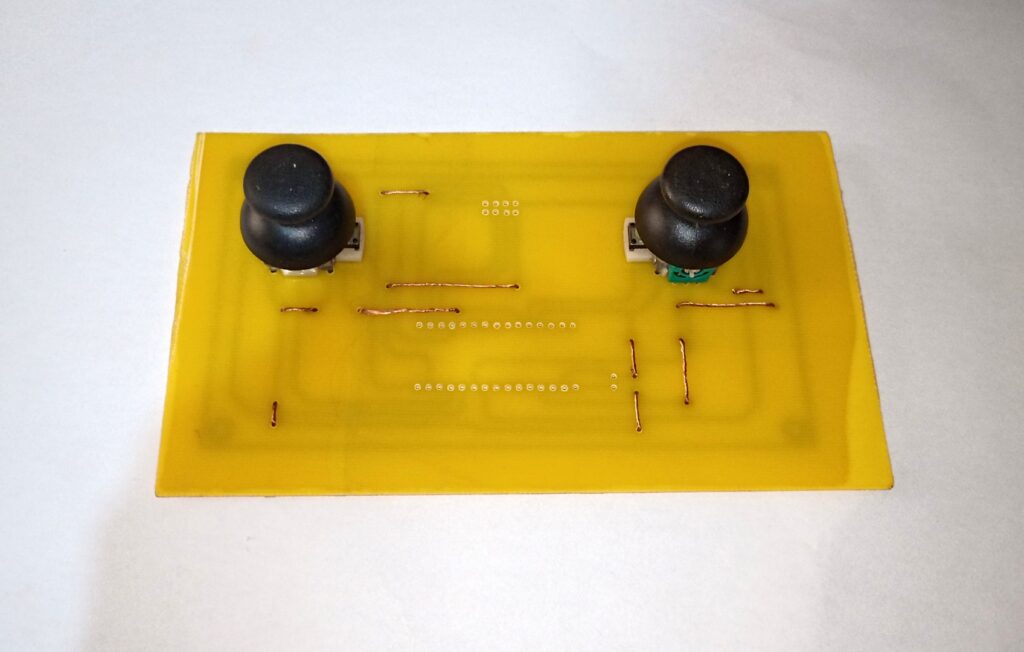
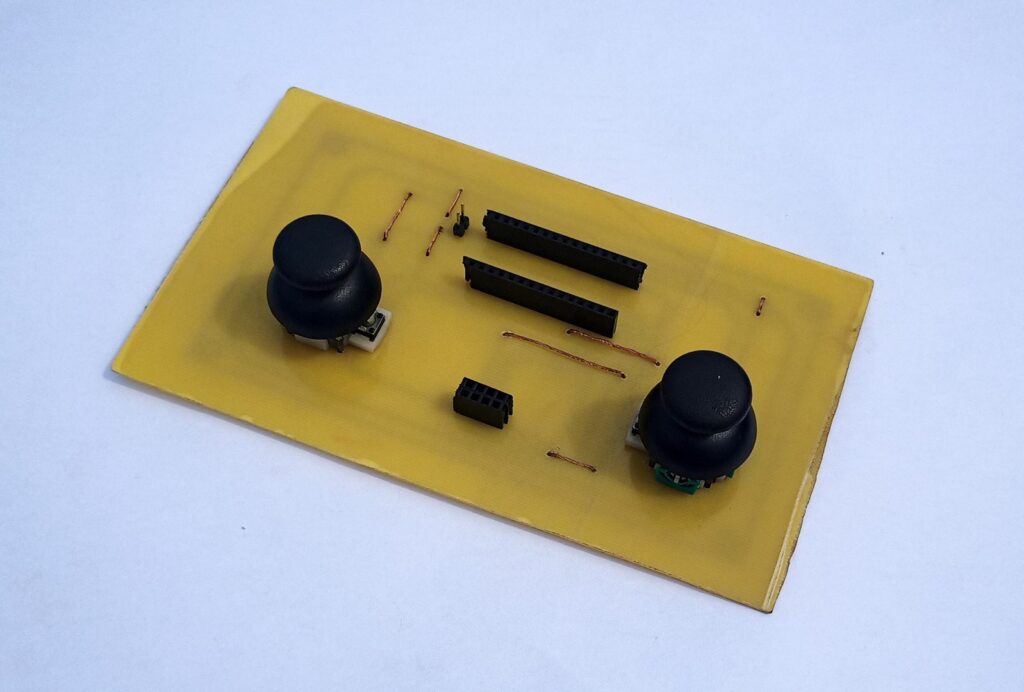
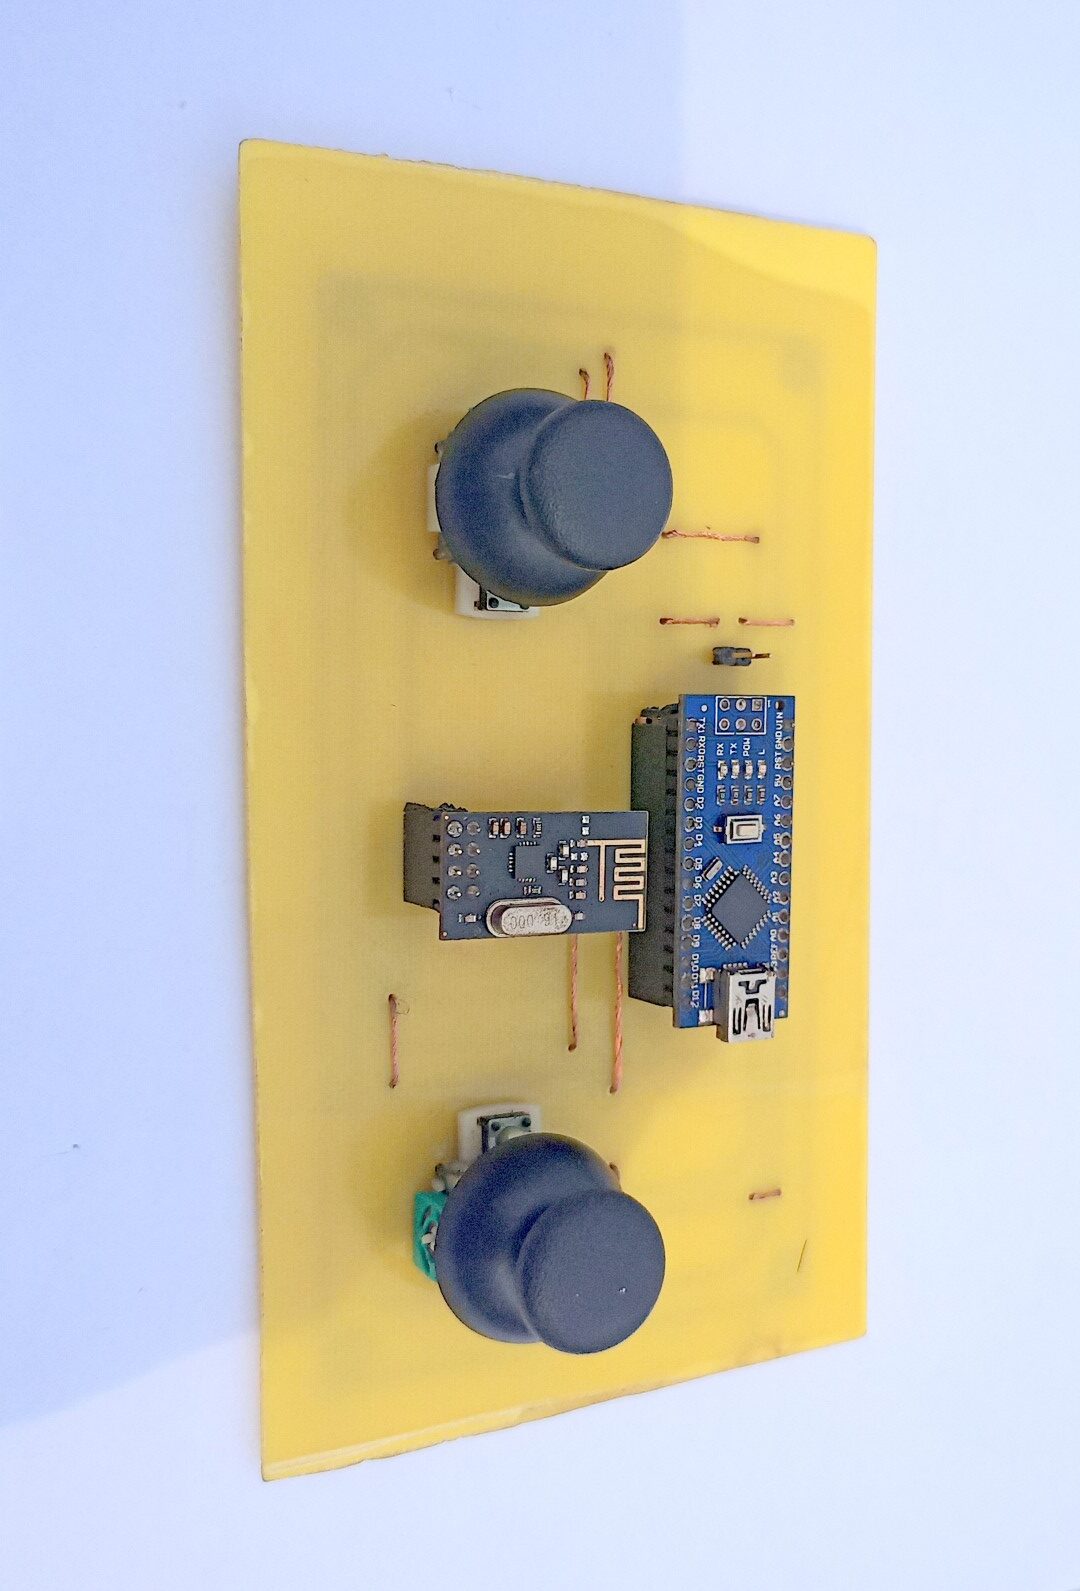
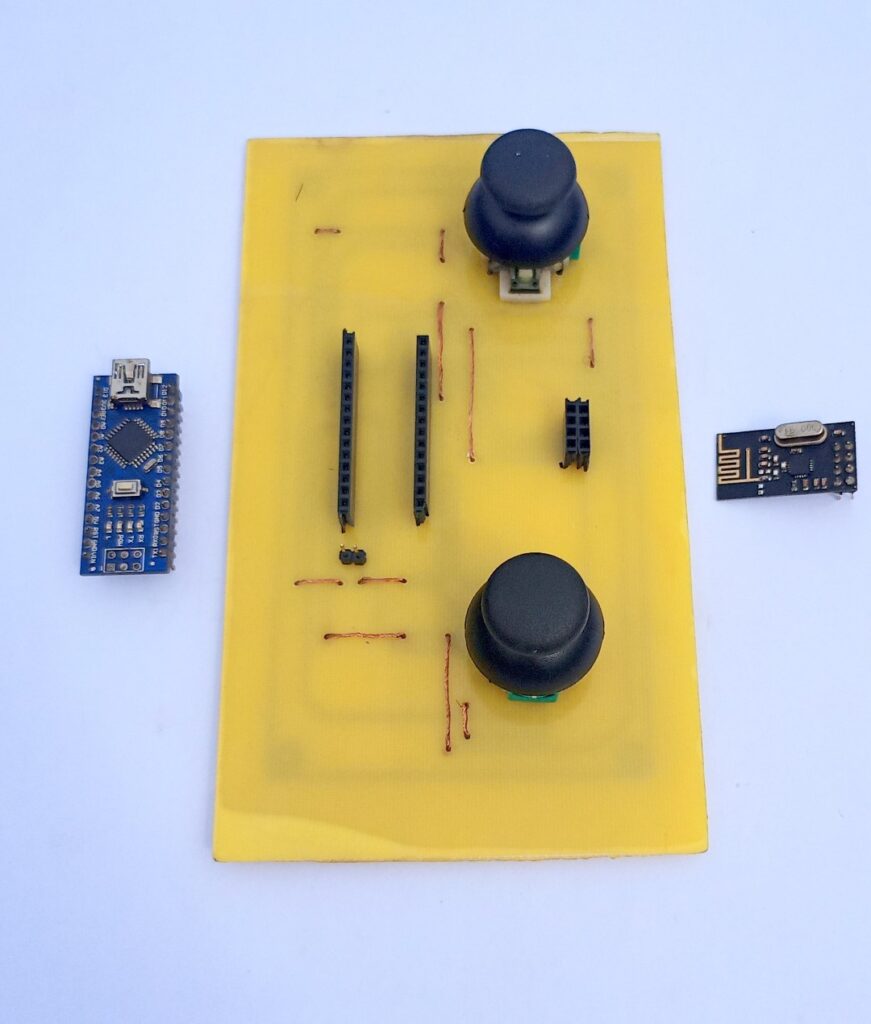
Faced with the excessive costs associated with radio equipment, I was motivated to create a more budget-friendly radio controller. After delving into various resources and finding no suitable home-friendly designs, I took matters into my own hands. Leveraging commonly available components, I assembled my design featuring an Arduino Nano and an NRF24L01 radio module, alongside repurposed analog sticks from old game controllers. This project not only saved costs but also enhanced my understanding and appreciation for DIY solutions in robotics.
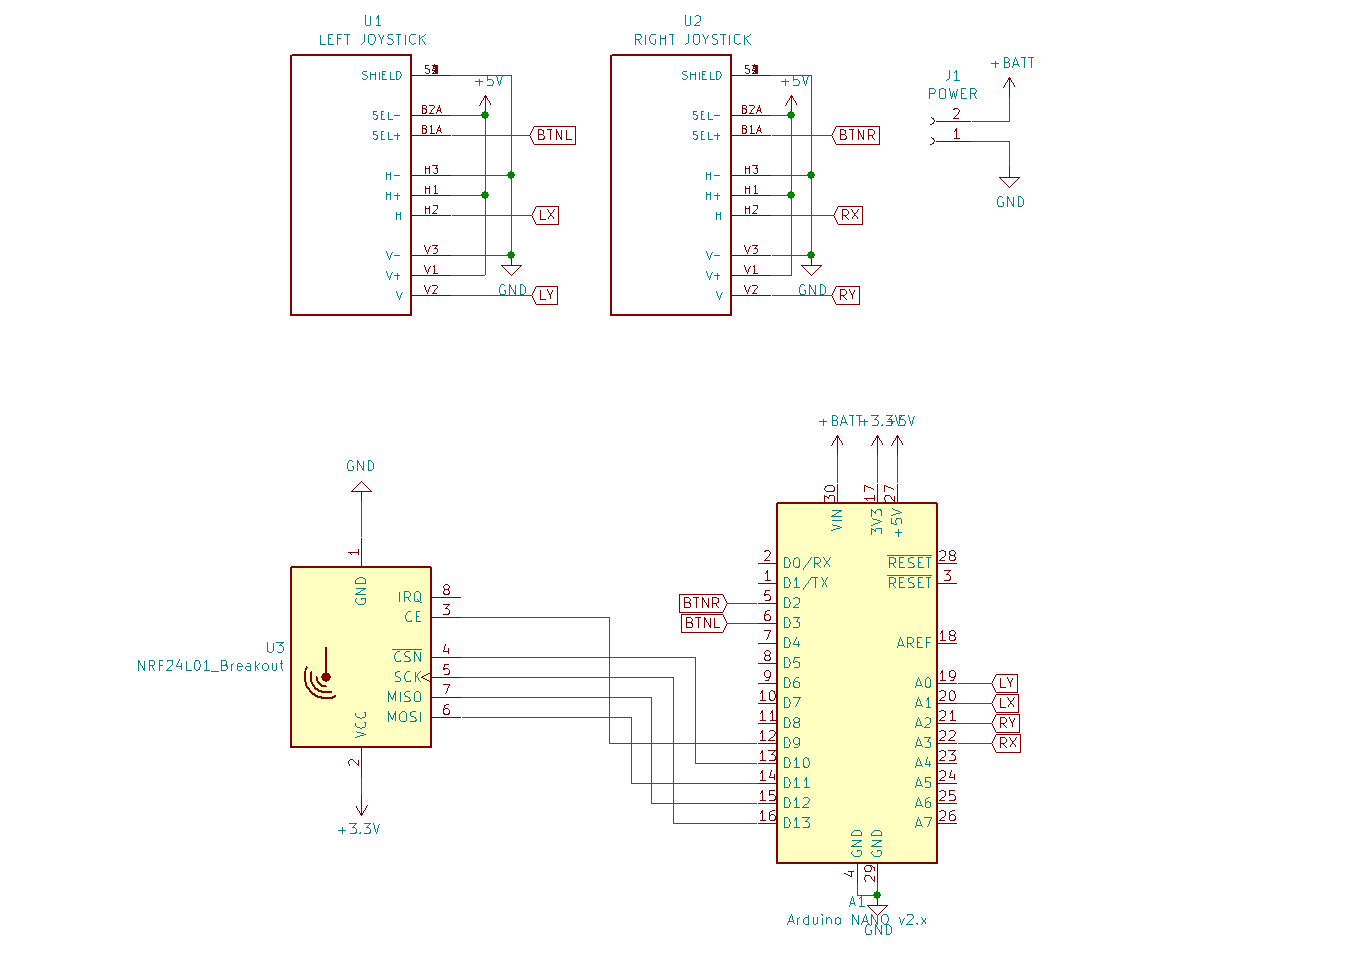
Embracing the Chemical Etching Process
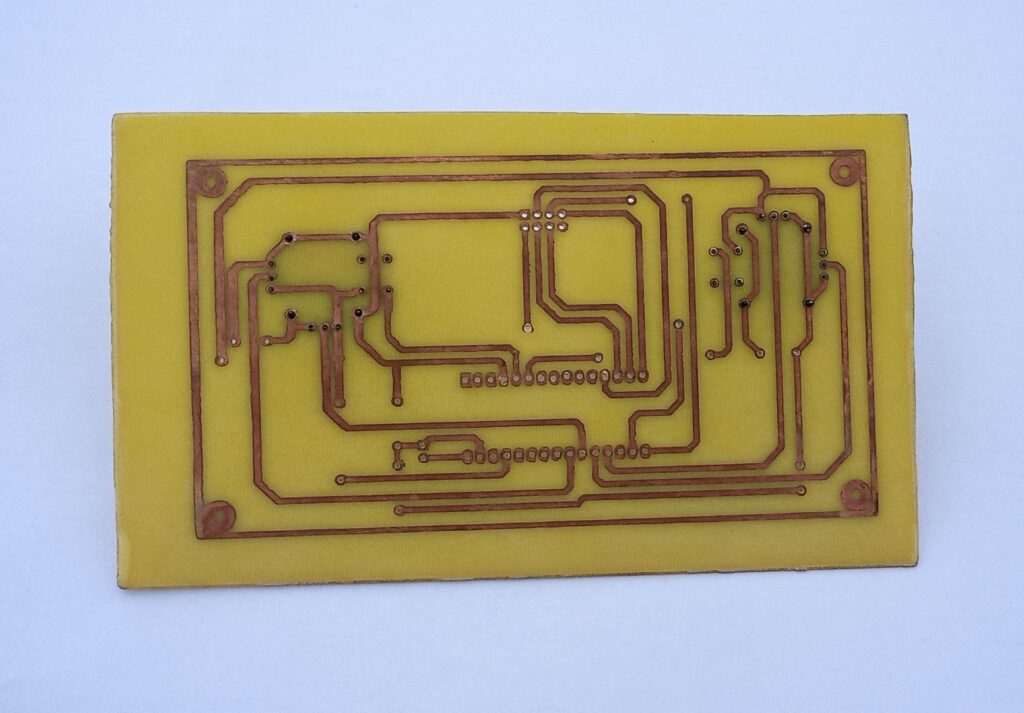
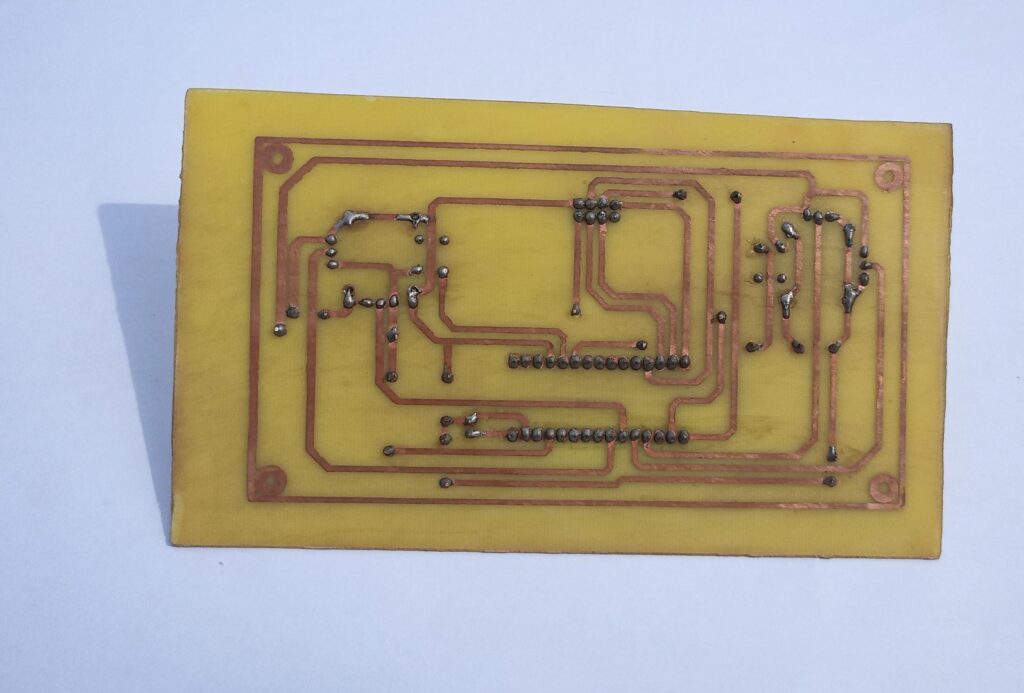
A pivotal step in creating my DIY radio controller was the chemical etching process used for PCB fabrication. This method involves applying a protective layer to the copper surface of the PCB, designing the circuit layout, and then immersing the board in a chemical solution to remove unprotected copper, leaving behind the desired circuit pattern. This process, although requiring precision and safety precautions, allowed me to transform my digital designs into tangible, functional PCBs. It was a rewarding experience that added a professional touch to my homemade controller, showcasing the blend of chemistry and electronics in crafting DIY solutions.
Skills
- Circuit Design and Prototyping
- Electronics and Robotics
- PCB Fabrication and Chemical Etching
- KiCAD
- Arduino
Acknowledgment
Thanks to Victor Adaje for helping with the fabrication of PCBs.

